ช่องทางการติดต่อ
สาขาปุณณวิถี : 08x-xxx-xxxx
สาขาศรีนครินทร์ : 088-246-4924
Line ID: @Xdcdental (มี@ด้วย)
ช่องทางการติดต่อ
สาขาปุณณวิถี : 08x-xxx-xxxx
สาขาศรีนครินทร์ : 088-246-4924
Line ID: @Xdcdental (มี@ด้วย)

Orthodontic treatment is more than just a way to get a beautiful smile—it’s a process that improves oral health and chewing function. If you’re considering getting braces, this article will walk you through every step of the procedure. We’ve compiled a detailed guide, including tips on how to care for your teeth before and after treatment, to ensure your journey is smooth and the results are outstanding.
Before you begin the braces procedure, a little preparation goes a long way toward ensuring the best possible outcome.
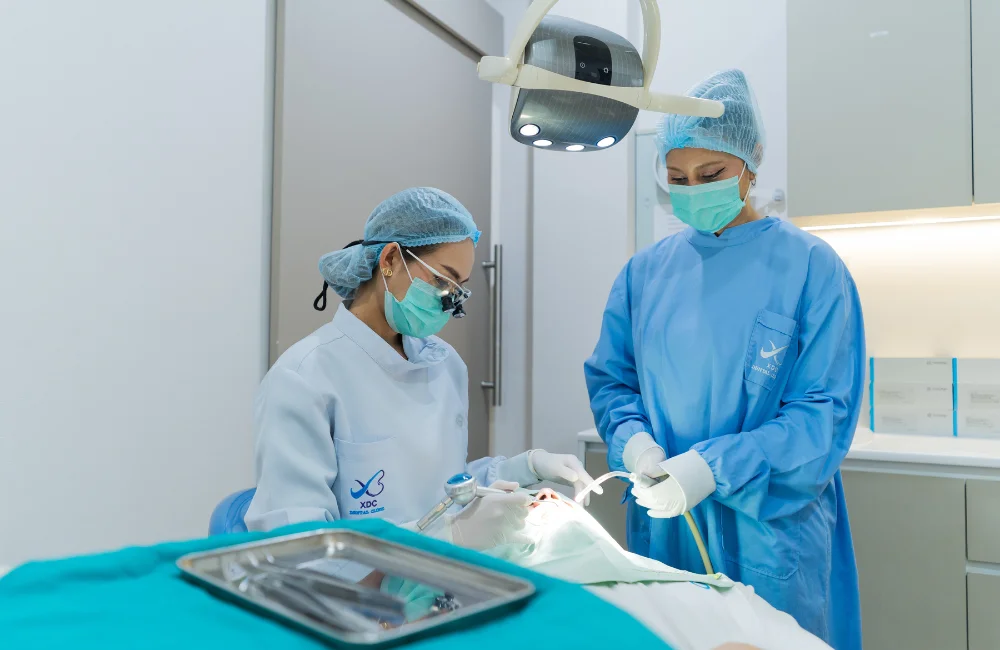
The entire orthodontic process consists of seven key steps. Each stage has its own details and timeline, with the full treatment typically lasting from 1 to 3 years, depending on the complexity of your case and the type of braces you choose. Let’s break down the 7 steps.
Your orthodontic journey begins with a consultation with a specialized orthodontist. During this visit, they will assess your dental issues, determine if you are a good candidate for braces, and discuss a potential treatment plan, timeline, and costs. This is the perfect time to ask any questions you have. Choosing an experienced orthodontist and a reputable, high-standard clinic is crucial for a successful outcome.
Next, your orthodontist will perform a thorough examination of your teeth and gums. This involves taking photos of your mouth, making dental impressions (molds) of your teeth, and taking X-rays to see the structure of your jawbone and tooth roots. All this information is used to create a precise and effective treatment plan. If any underlying issues are found, such as cavities or impacted wisdom teeth, they will need to be treated before proceeding.
Based on the examination, your orthodontist will present you with a detailed treatment plan. They will discuss the different types of braces available, such as traditional metal braces, ceramic braces, Damon System braces, or clear aligners (like Invisalign). You can discuss the pros and cons of each option and decide which is best for you. Your orthodontist will also inform you if any tooth extractions are necessary to create space for proper alignment.
Before your braces can be placed, your mouth must be in perfect health. This “clearance” phase involves completing any necessary dental work identified in Step 2, such as fillings, deep cleaning, or extractions. A healthy foundation is key to a smooth orthodontic process.
This is the appointment where you get your braces! The orthodontist will carefully bond the brackets to your teeth and connect them with an archwire. The process is painless and typically takes about 1-2 hours. You might feel some mild soreness or discomfort for a few days as your mouth adjusts.
Throughout your treatment, you will visit your orthodontist every 4-8 weeks for adjustments. During these appointments, they will check your progress and tighten or change your wires to continue guiding your teeth into their correct positions. These regular visits are essential to keep your treatment on track.
Congratulations, you’ve reached the final step! Once your teeth are perfectly aligned, the braces will be removed—a process called “debanding.” To ensure your beautiful new smile lasts a lifetime, you will be fitted for a custom retainer. Wearing your retainer exactly as prescribed is critical to prevent your teeth from shifting back to their old positions.
Proper aftercare is essential to ensure your beautiful results last a lifetime. You should follow these practices:

Getting braces is a long-term investment in a beautiful smile and excellent oral health. At XDC Dental Clinic, our team of expert orthodontists is ready to manage your entire treatment journey. With modern technology and international AACI-accredited standards, we provide personalized consultations and treatment plans tailored to you, no matter which type of braces you choose.